- A few steps to install invisible tape hair extensions
- Start by washing and drying your hair thoroughly. This will ensure that the extensions adhere properly.
- Section off your hair using a comb or clips. Create a horizontal parting about an inch above the nape of your neck.

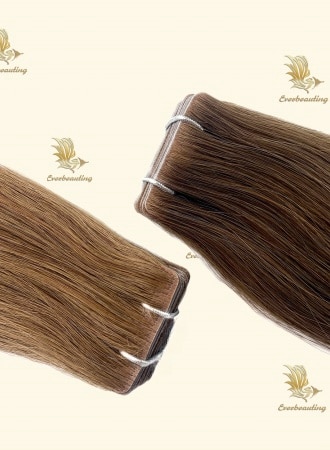
- Take one of the tape-in extensions and remove the protective film from the adhesive tape.
- Place the extension onto the parted section of your hair, pressing it firmly against your scalp. Ensure that the extension is aligned with the parting and sits flat against your head.

- Take another section of your hair just above the first piece invisible tape hair extension, making sure it is the same width as the extension. Repeat the process of applying the tape-in extension.
- Continue working your way up the back of your head, creating new partings and applying the extensions in a brickwork pattern.
- Once you reach the top of your head, start installing the extensions along the sides and front, following the natural curve of your head.
- After all the extensions are applied, gently press down on them to secure them in place.
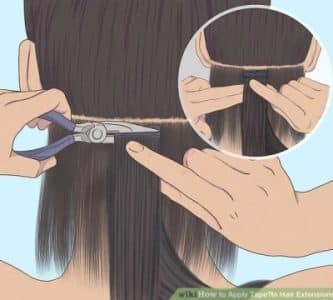
- If needed, trim the extensions to blend with your natural hair.
- Style your hair as desired, and you’re done!

- Cautions
Above all, it’s essential to follow the specific instructions provided by the manufacturer of your tape-in extensions, as different brands may have slight variations in the installation process. Additionally, it’s advisable to seek assistance from a professional hairstylist if you’re unsure about installing the extensions yourself.